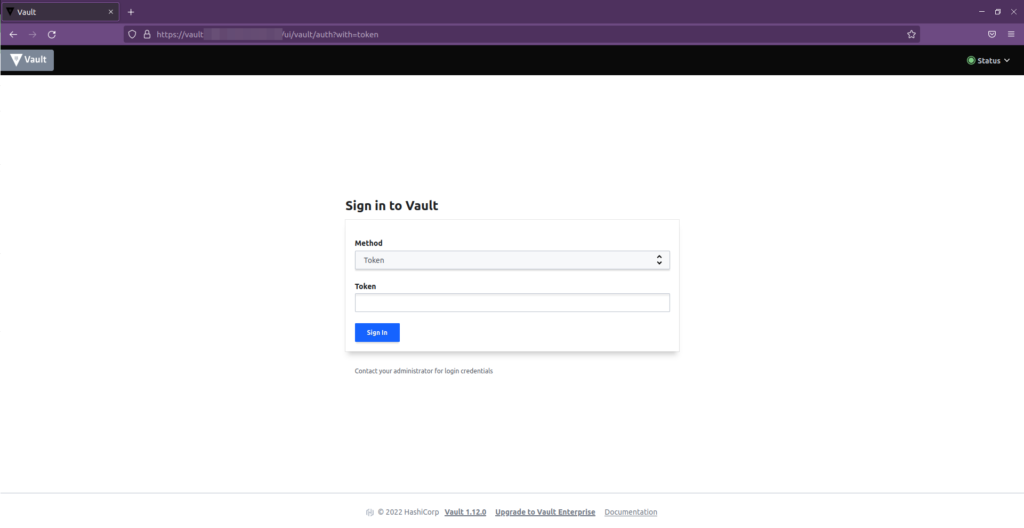
When working with secrets a tool like Vault becomes handy, especially if you are working with many projects and different eviroments. This way your secrets are secure, maintainable and versioned.
Vault Docs
I think the Vault docs are covering the topic not enough or at least not simple enough. Most user are using the Vault CLI only anyways, but to get a quick overview and maybe share it, the UI does make sense.
https://www.vaultproject.io/docs/auth/cert
Certbot / lets Encyrpt
Cerbot is THE SSL
Certbot is a fully-featured, extensible client for the Let’s Encrypt CA (or any other CA that speaks the ACME protocol) that can automate the tasks of obtaining…
https://github.com/certbot/certbot
Everyone who did at least one online project knows certbot. We will be using it to get a standalone certificate for Vault.
Ubuntu 22.04 & Snap
sudo apt install snap
sudo snap install certbot --classic
Make sure your DNS entry points to your domain and the port 80 accepts traffic.
Hint: The Certificate Authority failed to download the challenge files from the temporary standalone webserver started by Certbot on port 80. Ensure that the listed domains point to this machine and that it can accept inbound connections from the internet.

Some challenges have failed.
Ask for help or search for solutions at https://community.letsencrypt.org. See the logfile /var/log/letsencrypt/letsencrypt.log or re-run Certbot with -v for more detail
For me only port 8200 was allowed yet:
8200                       ALLOW       Anywhere
22/tcp                     ALLOW       Anywhere
8200 (v6)                  ALLOW       Anywhere (v6)
22/tcp (v6)                ALLOW       Anywhere (v6)

sudo ufw allow http
sudo certbot certonly --standalone -d vault.YOUR-DOMAIN.com
This will generate 2 pem files here:
Successfully received certificate.
Certificate is saved at: /etc/letsencrypt/live/vault.YOUR-DOMAIN.com/fullchain.pem
Key is saved at:         /etc/letsencrypt/live/vault.YOUR-DOMAIN.com/privkey.pem
Those should be added in your hcl file under
cd /etc/vault.d/
nano vault.hcl
or whereever you start your Vault from.
# FILE vault.hcl
storage "raft" {
  path    = "./vault/data"
  node_id = "node1"
}

listener "tcp" {
  address     = "0.0.0.0:8200"
  tls_disable = "false"
  tls_cert_file = "/etc/letsencrypt/live/vault.YOUR-DOMAIN.com/fullchain.pem"
  tls_key_file  = "/etc/letsencrypt/live/vault.YOUR-DOMAIN.com/privkey.pem"
}

api_addr = "https://127.0.0.1:8200"
cluster_addr = "https://127.0.0.1:8201"
ui = true
Now just restart your vaulter server or service and you are good to go.
NGINX as reverse proxy (recommended)
If you don’t want to expose your 8200 port, you can also use NGINX as a reverse proxy and only open port 80 / 443
vault.hcl
storage "raft" {
  path    = "./vault/data"
  node_id = "node1"
}

listener "tcp" {
  address     = "0.0.0.0:9000"
  tls_disable = "true"
  proxy_protocol_behavior = "use_always"
}

api_addr = "https://127.0.0.1:8200"
cluster_addr = "https://127.0.0.1:8201"
ui = true
nginx.conf
server {
  listen 80;
  server_name vault.YOUR-DOMAIN.com;

  return 301 https://$server_name$request_uri;
}


server {
  listen 443 ssl http2;
  server_name vault.YOUR-DOMAIN.com;

  # SSL * cert
    ssl_certificate /etc/letsencrypt/live/vault.YOUR-DOMAIN.com/fullchain.pem; # managed by Certbot
    ssl_certificate_key /etc/letsencrypt/live/vault.YOUR-DOMAIN.com/privkey.pem; # managed by Certbot


  location / {
    proxy_set_header        Host $host;
    proxy_set_header        X-Real-IP $remote_addr;
    proxy_set_header        X-Forwarded-For $proxy_add_x_forwarded_for;
    proxy_set_header        X-Forwarded-Proto $scheme;

    proxy_pass          http://vault.YOUR-DOMAIN.com:9000;
    proxy_read_timeout  90;

    proxy_redirect      http://vault.YOUR-DOMAIN.com:9000 https://vault.YOUR-DOMAIN.com;
  }
}
Info: You can re-use the above standalone certs or generate new ones. Up to you. If you do choose this approach you can remove the port allows
sudo ufw status numbered

     To                         Action      From
     --                         ------      ----
[ 1] 8200                       ALLOW IN    Anywhere
[ 2] 22/tcp                     ALLOW IN    Anywhere
[ 3] 80/tcp                     ALLOW IN    Anywhere
[ 4] 443/tcp                    ALLOW IN    Anywhere
[ 5] 8200 (v6)                  ALLOW IN    Anywhere (v6)
[ 6] 22/tcp (v6)                ALLOW IN    Anywhere (v6)
[ 7] 80/tcp (v6)                ALLOW IN    Anywhere (v6)
[ 8] 443/tcp (v6)               ALLOW IN    Anywhere (v6)

sudo ufw delete 1 5
Finished product

Gitlab Integration
Vault integrates very smooth into Gitlab. Here is a Link to optimize and secure your CI/CD. Selfhosting Gitlab on top of that is recommended as well. I am using Gitlab CE now for over 4 years and only had one rollback (which was easy). It is a very complex but stable software.

